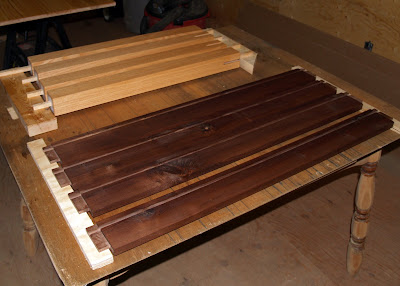
This project is a big brother to the kids table I built for Joshua and Lauren earlier this year, so the finishing schedule is the same. After sanding all the parts 120-150-220 with a random orbital sander, I took them upstairs to my 'finishing room'.
I finished the table with two coats of Watco Danish Oil - Natural, following the directions on the can. I use scraps of an old t-shirt to apply the oil and wipe off the excess.
Once the oil has dried I'll apply two coats of Minwax Quick Drying polyurethane on the legs, apron and bottom of the table. I'll probably apply at least one extra coat on the top to give it a little extra protection.
Since it's winter time in the workshop and my heating situation is not so good in the workshop, I'll apply the top coats of poly in our heated house after I've moved the table in there.

Once the bottom of the top and the legs/aprons were dry from the poly I glued up the legs and aprons.
After getting it down the stairs into my workshop - I realized that I needed a little extra support for the apron / leg connection. I added the corner braces, gluing and screwing them to the aprons. Around the inside of the apron, you can see the wooden buttons I used to secure to the top to the apron.


